Last weekend residents of my block got together to tidy up our communal gardens in its twice- yearly ‘dugnad’. It is traditional in Norway to have seasonal days every spring and autumn when people get together in neighbourhoods to collectively clear or spruce up their areas: gardens, streets, beaches etc.. to coincide with the changing of the seasons, at the end of winter as spring emerges and, now, in autumn in advance of winter.
At this time of year, piles of fallen leaves are typically gathered and taken to the municipal green recycling centre where they are mulched. Each year, I keep some back for myself to make my own leaf mould. I’ve been collecting leaves in a black plastic bag with holes punched in it and, over time, I have added grass clippings and plant foliage from garden clearance. I’ve kept the bag in a sheltered position and periodically turned it and as the leaves have softened I have roughly torn up the clumps of leaves that have formed. Now in its third year, it has gone from looking like the bag on the left to the one of the right.
The mixture now resembles dark, crumbly earth and is referred to as leaf mould. It adds valuable nutrients into the soil just as it would in nature and enhances the quality of the soil. Granted it’s taken a few years to produce here, but it’s so easy to do and it’s so worthwhile. I added a couple of handfuls of freshly fallen leaves to the old bag but decided not to add all of this year’s leaves to it as it had become so well-rotted. Instead I created a new bag just for this season’s leaves. I didn’t add water as the leaves were already damp. I threw in some grass that had got caught in the rake and added some spent coffee grounds from the morning’s breakfast as I’ve read this adds nitrogen. To be honest I’ve never been exact with the proportions of grass clippings (green waste) versus leaves (brown) in the mix but it generally is 5 parts leaves to 2 parts grass clippings. Obviously if you can shred the leaves then this will speed the process up. Come spring time when the weather begins to warm up again, I’ll add a good layer to my pots. For now, I’ll hand shred some leaves and put them onto the pots once after pruning to give the plants some winter protection.
Next it was time to begin to prepare my pots for winter. This is how my garden looked before major pruning:
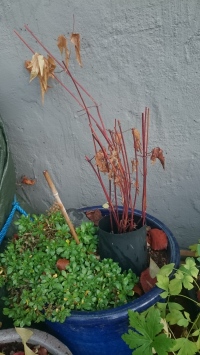
It was time to prune the perennials. The Geraniums macrorrhizum and sanguineum were still verdant but the Geranium Rozanne had already browned and withered. The Coreopsis still had lots of unopened buds on the stems. I cut everything back to within a few centimetres of the soil except for the Rozanne which I took right back to the soil and removed all the dead foliage. I also cut back the Lamprocapnos and, having only bought it this year, I’ll be curiouss to see how it manages the winter.
I pruned the honeysuckle and clematis.
In previous years I pruned them back in the spring but this year I needed to be a bit more drastic. So much clematis foliage had become tangled with the spiral climbing frame that it was almost impossible to remove it without cutting back substantially. I also let my honeysuckle get a bit lax over the summer and its stems had splayed out in all directions so to make things easier I pruned it back now. I’ve deliberately pruned a little less severely and left stems a little longer. Come spring I’ll see whether pruning them this way has made a substantive difference.
I didn’t prune the dwarf Astilbe as I’ve read these do better with foliage over hard winters. I’ve also left the Euphorbia polychroma alone. Its stems are bare but the plant dies back to the root crown over winter, so I’ll remove these ‘old’ stems when new growth begins to appear in the spring.
Surprisingly even with the odd night-time frost the Antirrhinum seems undamaged and its flowers are still holding firm, though no new buds are opening now.
 But it’s lovely to still see their splash of pink alongside the Ericas. The Ericas were the result of a spontaneous trip to the garden centre (always dangerous!) a few weeks ago. Their bright flowers seduced me on a cloudy day. It’s my first time growing them and I’ll pot them up in an arrangement with other ericaceous-loving plants in the spring.
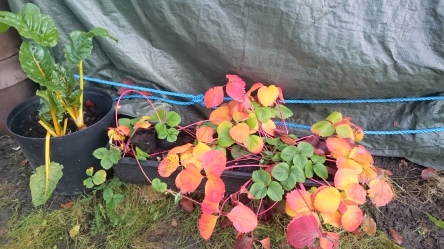
As for fruit and vegetables, chard and kale are still going strong. I’ve trimmed back the tarragon to a few centimeters above the soil on the pot and will dry the stems for future culinary use. Tarragon is only half-hardy but it came through last winter outside with heavy fleece on it, so I’ll try it again this year. The foliage of the strawberries have turned a striking colour.
This is how it looks after the clear up.


What good preparation for winter. We all should be that diligent. I’m sure all that hard work will pay off when the warmer weather returns next year 🙂